Google Photos Backup
Are you using any Google service (Gmail, Youtube, Google Maps, Google Cloud, Google Voice, etc…) daily? You might want to know that Google has the really bad habit to kill products and lock you out of your own google account | for | all | sort | of | possible | and | random | reasons.
If their AI determines that any of your activity is suspicious, it might lead to the closure of your entire Google account. That would mean you could lose all your photos and videos on a whim.
An other reason to back them up on an other service is that some of my photos in Google Photos (taken via the Google Pixel) disapeared, and I’m not the only one who saw it.
Don’t get me wrong, I love Google Photos. It’s probably the best mobile app for viewing and searching your photos and videos today. Favorite feature is how easy it is to share photos and videos to your friends. Their editing tools are also great and very user-friendly. However, the risk of losing all your cherished memories because a random bot decided so isn’t something I like to think about, and you neither. Backing up Google Photos data isn’t quite straightforward, which is why I’ve created this guide to help :)
0. Prepare your albums
If you don’t care about photos friend shared with you, you can go to the next steps.
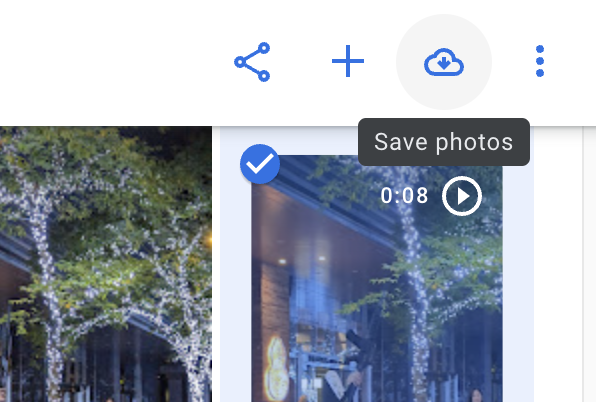
You might have albums you share with your friends. The tool we will use next (Google Takeout) won’t export the photos shared by your friends, even if it’s your own album. In Google Photos, go to the shared albums you want keep others photo. You will have to select manually all the photos, and scroll manually. When you start selecting the photo, a “Save photos” button will appear on the top right. You will have to select all the photos. Please note that those photos will start using your storage quota.
1. Export your photo with Google Takeout
Go to Google Takeout and export your Google Photos data:
-
Go to Google Takeout and log in using a desktop computer.
-
Click “Deselect all” to unselect all Google services.
-
Scroll down to “Google photos” and select it.
-
Click “All photo albums included” to get the list of albums. All albums are selected by default.
-
To select specific albums, click “Deselect all” and then select the albums you want to download. Note that there are year albums (“Photos from 2020,” etc.) and your own albums (if not shared). Downloading both year albums and your own albums will result in duplicates between your albums and the year albums.
-
Click “OK” to continue. This will bring you to the next screen
-
Select a “Delivery method,” which includes options like Email, Drive, OneDrive, Dropbox, Box, etc.
-
Choose “One-time” for the “Export type” .
-
Select the Zip format for “File type”
-
Select 10GB for the “Archive size.”
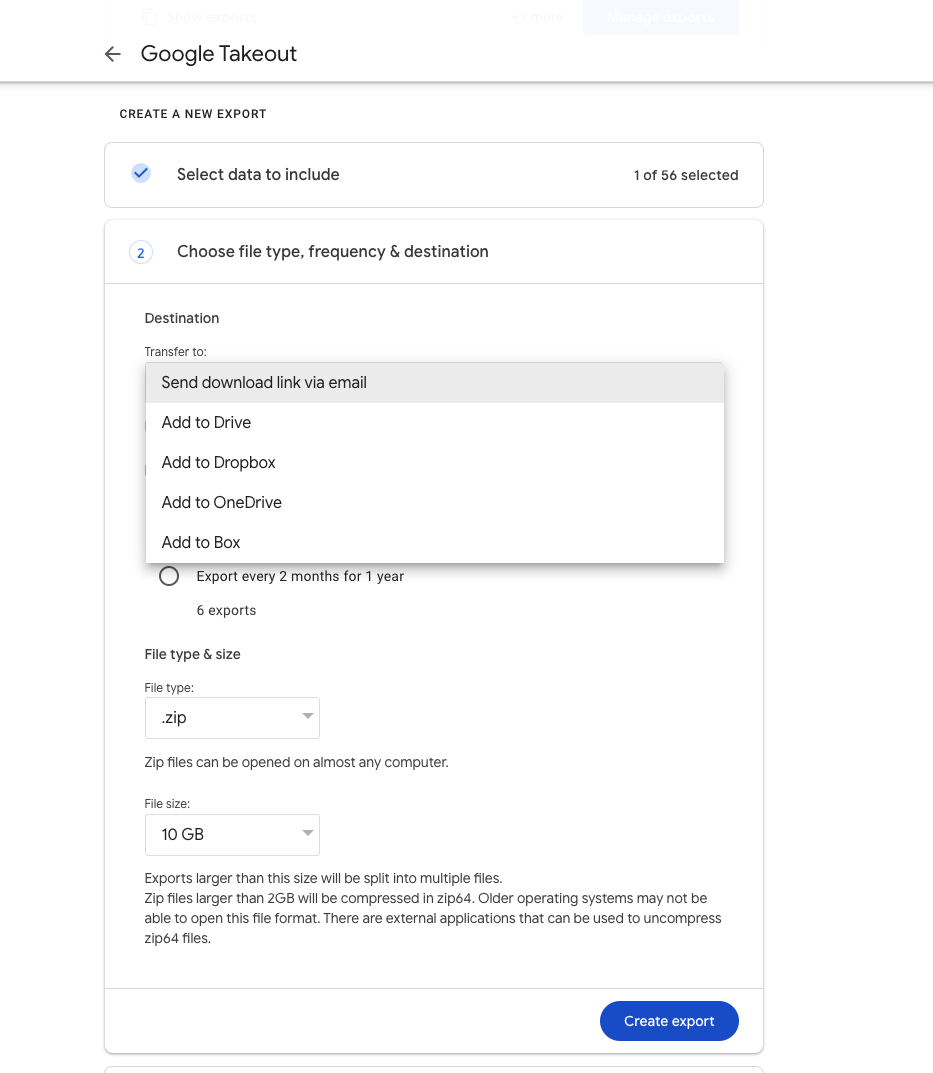
I recommend selecting the 10 GB size per zip file. The first time I tried to export, I chose the 50 GB size option, but it failed after 24 hours. 😅 I retried with a smaller file size, 10 GB, and it worked. Google Takeout also offers the option to send your data to another backup provider, such as Dropbox or OneDrive.
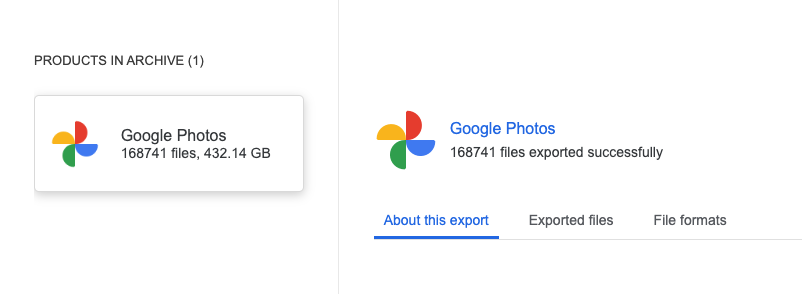
The export finished after 72 hours. It resulted of 52 files of 10GB. (520GB of files!). After you’ve obtained all the backup files, extract them all by using your mouse: select all, right-click, and choose ‘Extract Here’ . You’ll notice that the last folder contains a number that represents the total files, but be aware that this number includes a lot of files that aren’t your photos. It can be a bit misleading.
2. Reorganize your file and metadata
You will find out JSON , video, and photo files scattered in different folders, without any discernible order. To make matters worse, the date of the last file edit and GPS location information is stripped away, which can be frustrating. Fortunately, there’s a tool called google-photos-exit
This tool wil help you organize all in a nice single folder, with all the metadata in it. Just head to this link and follow the instruction.
It took approximately 17 minutes to complete. After running google-photos-exit, I ended up with precisely 95,662 photos and videos. Initially, there were 191,110 files within the original zip files.
There is also an alternative solution that allows you to preserve the album structure while offering the option to output the result in a YEAR-MONTH format: https://github.com/TheLastGimbus/GooglePhotosTakeoutHelper. I attempted to use this alternative tool, but it didn’t work well with my 50 folders
3. Copy the file to the other backup location
After everything has been properly sorted, export it to your other backup location. Currently, I’ve chosen Dropbox, but I’m also considering purchasing my own NAS so that I won’t depend on a backup provider. There are many backup solutions available today:
- oneDrive
- Dropbox
- Amazon Photos
- Your own NAS, or server
4. Continusouly backup your new photos
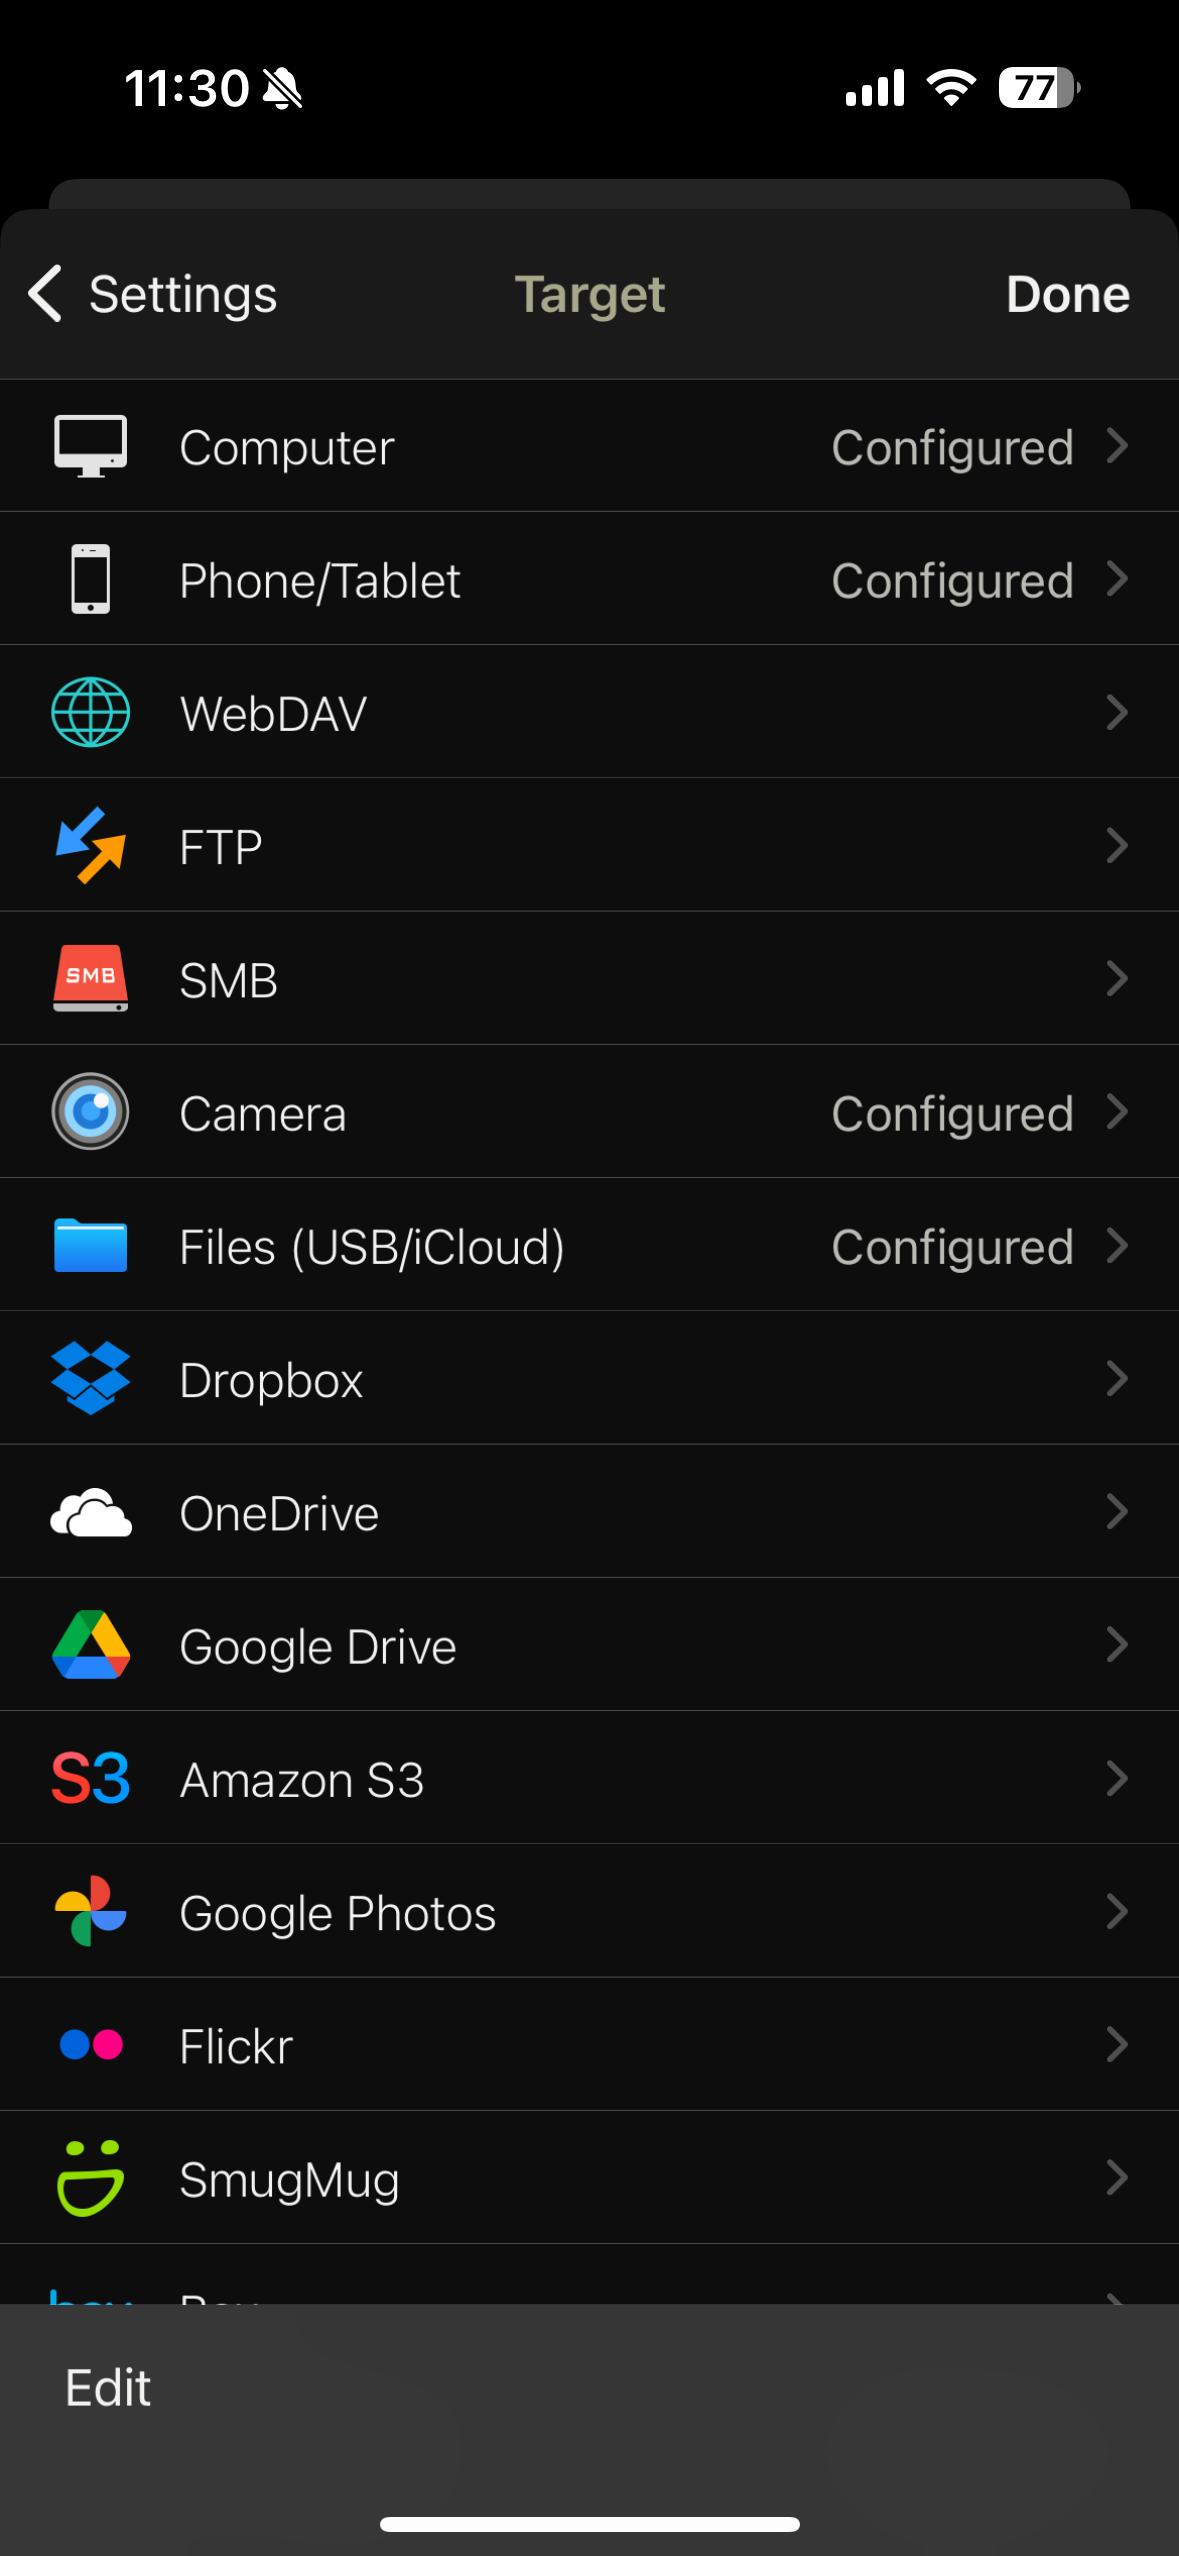
Then you’ll wannt to continuously upload your new photos and video continuously to Google Photos and your other backup location. I’ve found [Photosync[(https://www.photosync-app.com/home)] is a nice (paying app), that will allow you to backup file on your device to literally anywhere. It’s unfortunately the only viable option that allow you to send your medias anywhere. I didn’t find a better alternative today for iOS, so if you have any suggestion, I’m all hear.
You are now all set. If Google decide to lock you out, or you’d want use an other photo backup service, or even kill Google Photos, you’ll have all your memories ready to go with you!
Liked it?
As always, hit me up and let’s hang out. I'm now focused on antics: fun multiplayer games to play with friends - and if you're building one, we help you make your game multiplayer.
I'm also building folivue, a free portfolio tracker that brings back the classic Google Finance design.
I also gather developers in Taiwan through TaipeiDev - come join us if you're in Taipei!