Nuxt3 and Firebase: Users authentication
Here the github repo for who want to fork my template and use it directly.
If you’re looking for a seamless and efficient way to handle user authentication and management in your web applications, Nuxt3 and Firebase make this process incredibly easy. They both have lot of advantages:
Nuxt3 :
- Allow you to have a frontend (and backend), easily deployable with 2 command line to execute (no joke!)
- Has a huge choices of modules available
- Coming from a a backend world, Nuxt is easy to use and understand and simply “make sense”
Firebase and Firebase UI :
- Firebase gives you a nice UI to manager your users
- Implements directly the usual user signup flow such as confirming emails, password hash without you having to do anything
- Has a generous free tier with the Spark plan, up to 50k Monthly Active Users!
- FirebaseUI gives you web, iOS, and Android libraries to eliminate boilerplate code
At the moment of the post, the Nuxt Firebase integration does not support Nuxt3 yet (only nuxt2). We will have to use vuefire instead. There is not much documentation online on how to integrate them both together, so here it is 😉
0. Prepare your project
You’ll need:
Node.js- v16.10.0 or newer.npx:npm install -g npxpnpm: I use pnpm over npm because it made the installation of firebase and firebaseui a lot faster.- A Firebase account : firebase.google.com
1. Initialize the Nuxt3 project
npx nuxi@latest init <project-name>
It created you a bunch of boilerplate files that will be necessary for running your project, including a README.md and a package.json. The files created should look like this:
.
├── README.md
├── app.vue
├── nuxt.config.ts
├── package.json
├── public
│   └── favicon.ico
├── server
│   └── tsconfig.json
└── tsconfig.json
Go to the folder:
cd <project-name>
Install the dependencies, this woll download all the packages that are needed for your nuxt project:
pnpm install
Then start the project!
pnpm run dev
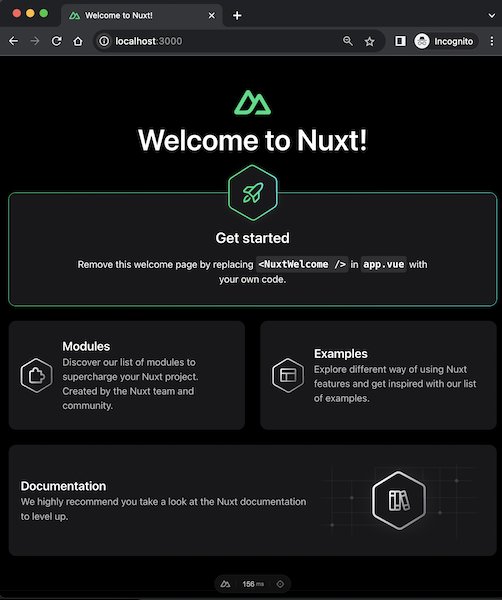
✨ Your project will be available at http://localhost:3000:
2. Install firebase and firebase UI
- Create a Firebase account : firebase.google.com
- Head to the console and create a new project
- Add a Web app project
- A snispet of code will appear. Copy those credentials
- Install
firebaseandfirebaseui:
pnpm install firebase firebaseui vuefire
- Install
vuefireandnuxt-vuefire:
pnpm install vuefire nuxt-vuefire
Your package.json should now contains 4 new dependencies:
...
  "dependencies": {
    "firebase": "^9.x.x",
    "firebaseui": "^6.x.x",
    "nuxt-vuefire": "^0.x.x",
    "vuefire": "^3.x.x"
  }
...
- Restart the server. Nuxt does not seem to manage installation of new packages well so far:
CTRL + C then pnpm run dev
3. Configure Nuxt and Firebase
Int the nuxt We have to:
- Deactivate the SSR
- Add the nuxt-vuefire module
- Head to firebase, copy your credentials
Here what you should add in nuxt.config.ts:
export default defineNuxtConfig({
  devtools: { enabled: true },

  // we deactivate the Server Side Rendering
  ssr: false,

  // Add nuxt-vuefire module
  modules: [
    'nuxt-vuefire',
  ],

  vuefire: {
    auth: true, // enable Firebase Authentication
    config: {
      // replace with your own credentials from the Firebase console
      apiKey: '...',
      authDomain: '...',
      projectId: '...',
      appId: '...',
    },
  },

})
4. Add login views
The last step is to create a view that manage the signin and signup process:
- Create a
componentsfolder, and inside create aLogin.vuefile with:
<template>
    <div>
      <h2>Login</h2>
      <span v-if="currentUser"> Welcome {{ currentUser.displayName }}</span>
      <span v-else> <div id="firebaseui-auth-container"></div></span>
    </div>
  </template>

  <script lang="ts" setup>

  import { EmailAuthProvider, GoogleAuthProvider } from 'firebase/auth';
  import * as firebaseui from 'firebaseui'
  import 'firebaseui/dist/firebaseui.css'
  import { useCurrentUser } from 'vuefire';

  const currentUser = useCurrentUser()
  const ui = firebaseui.auth.AuthUI.getInstance() || new firebaseui.auth.AuthUI(useFirebaseAuth());
  const config = {
    signInOptions: [
      GoogleAuthProvider.PROVIDER_ID,
      EmailAuthProvider.PROVIDER_ID,
    ],
    signInSuccessUrl: "/",
    callbacks: {
      signInSuccessWithAuthResult() {
        console.log("Successfully signed in");
        // window.location = "/";
      },
    },
  }

  onMounted(() => {
    ui.start("#firebaseui-auth-container", config);
  })

</script>
- Change
app.vueto call thecomponents/Login.vuecomponent we’ve just created:
<template>
  <div>
    <NuxtWelcome />
    <Login />
  </div>
</template>
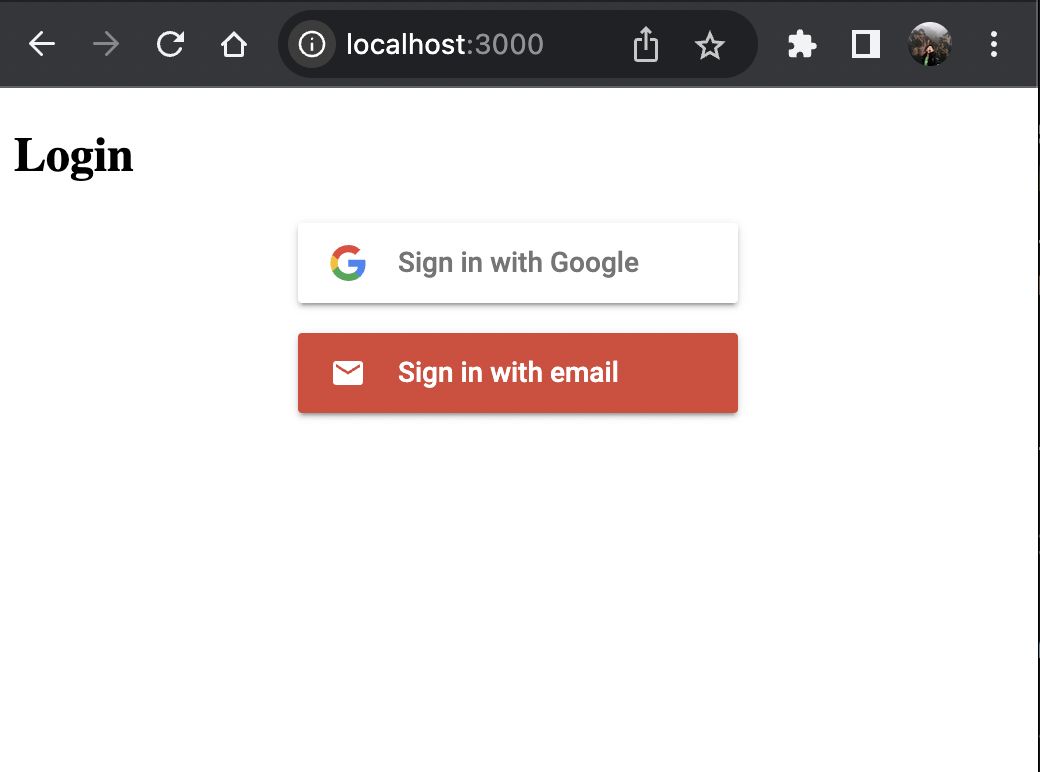
The changes should look like this
- Head to the Firebase console, and activate the signup options you want to see:
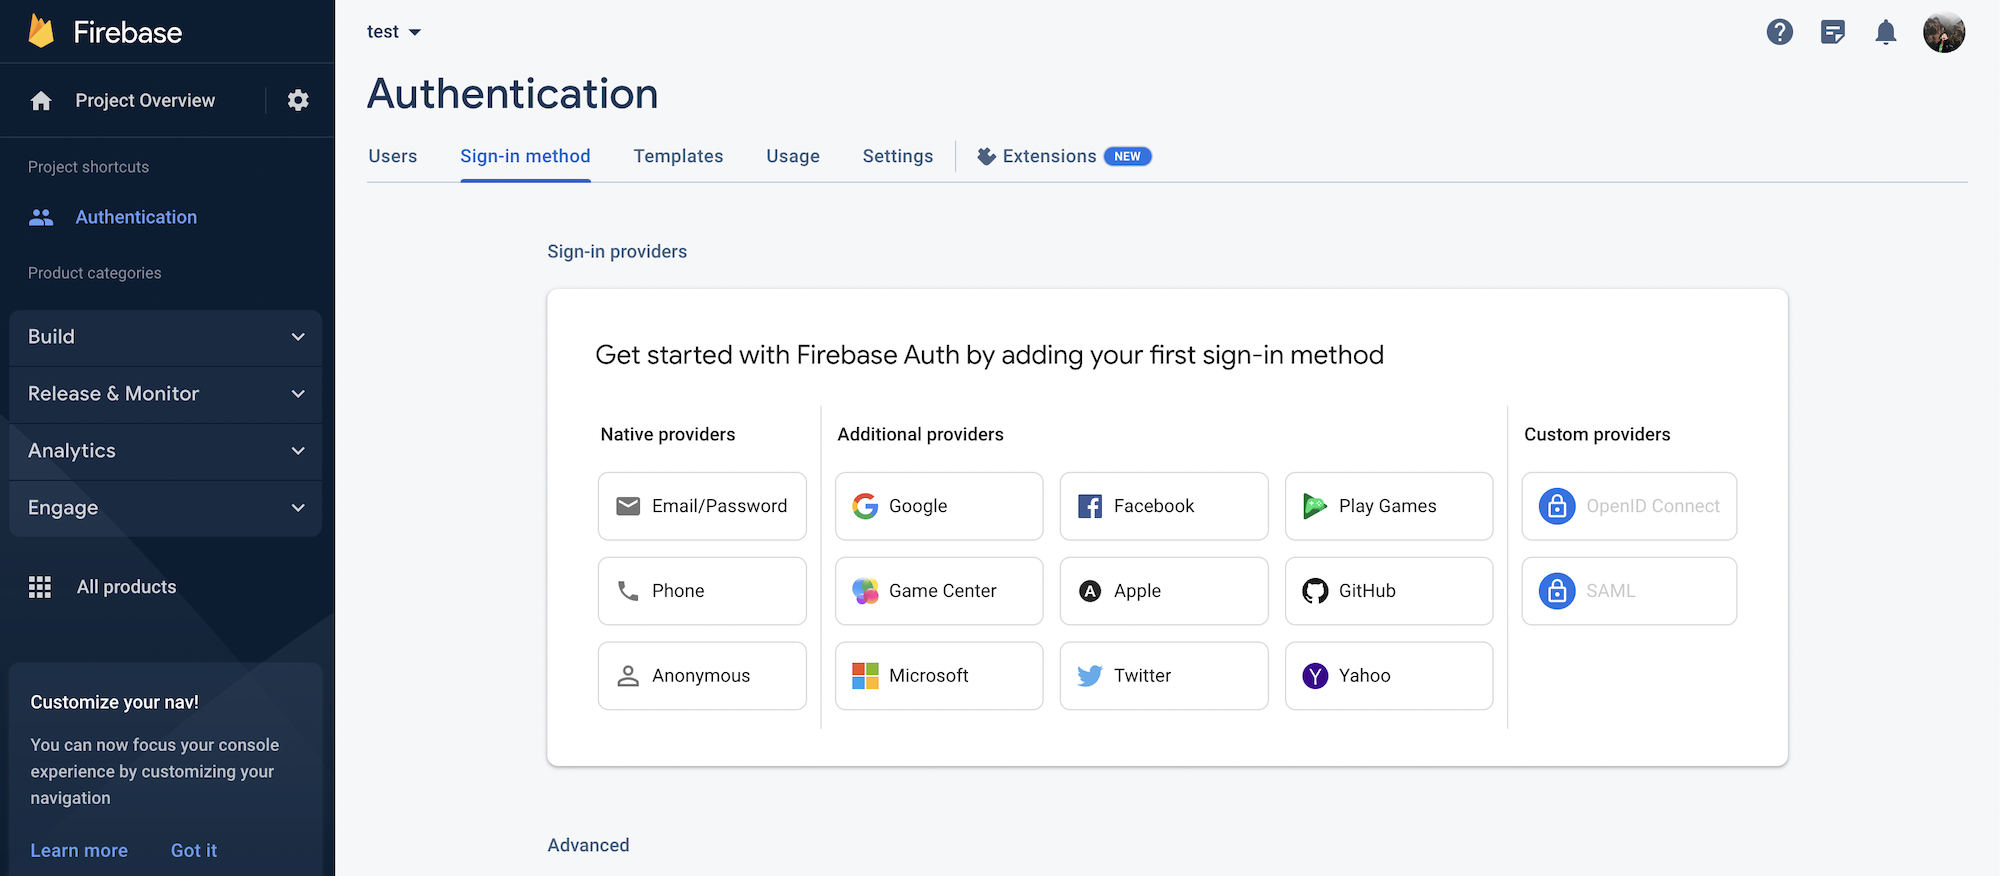
You’ll have multiple options, from emails, to Facebook and Twitter. here what will look like your Nuxt3 app with Email and Google activated:
The whole project is available in this repo. You can simply clone the project and change the firebase credentials in nuxt.config.ts, and deploy in any of your serverless provider you like!
Liked it?
As always, hit me up and let’s hang out. I'm now focused on CraftMyGame: build games in seconds, no code needed.
I also gather developers in Taiwan through TaipeiDev - come join us if you're in Taipei!